 |
| Make your own purse out of an old hard-cover book. |
Do you know someone with a purse fetish? I do, and she just had a 50th birthday!

It's my mom! And she's a little devil who also happens to have a thing for purses. And what kind of gift do you give a mom who has a thousand purses?
After brainstorming for a while, I decided on a book purse. I've never seen her (or anyone for that matter) with a book purse before, and it seemed like it would be a pretty simple project. So, I dashed off to the thrift store in search of the perfect book, and found this one:

At a few inches thick, it was a pretty hefty book; it was around 10 inches long and 6 inches across. When you are deciding which book to choose for this project, just keep the user in mind and what they'll likely carry in it. For example, I know my mom is going to want something a bit roomy and wide enough to carry her checkbook. The book seemed a bit heavy when I purchased it, but once the pages were cut out, it became very light-weight.
That brings me to the first step of my project:
How I Made a Purse Out of a Book
1. Cut the pages out of the book.
This was very simple for me, but it may depend on how your book is constructed. I was able to cut all the pages from the book with two incisions, one on each side of the binding.

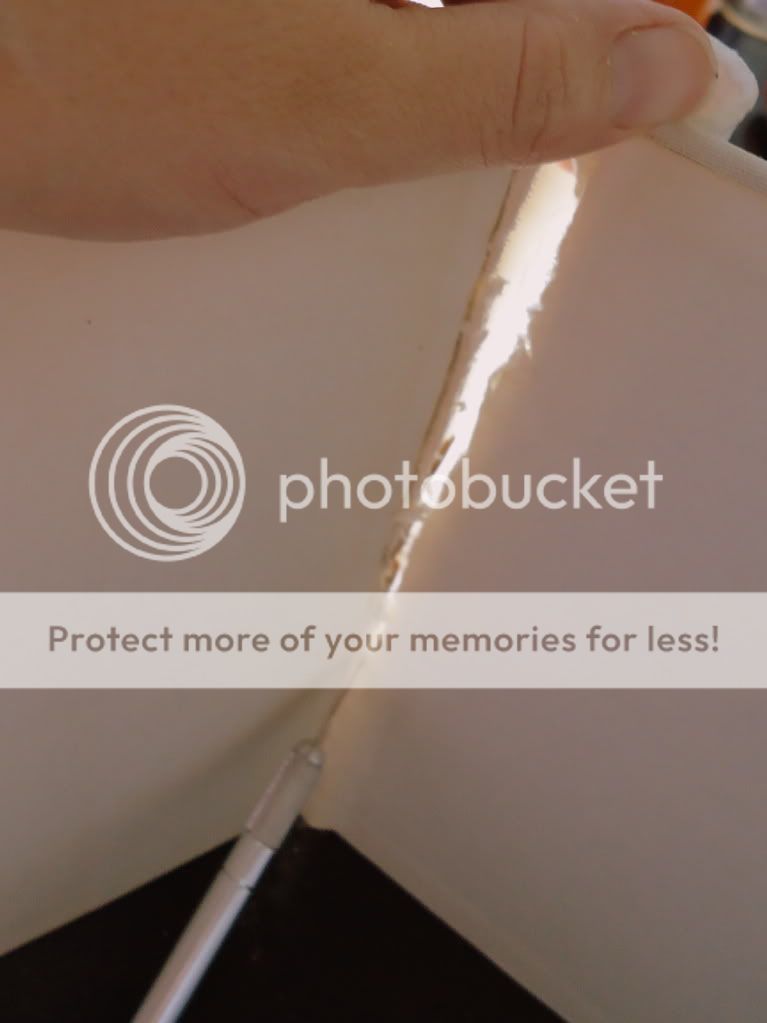

If your book cannot be cut this way, you may be forced to cut or rip all the pages out:

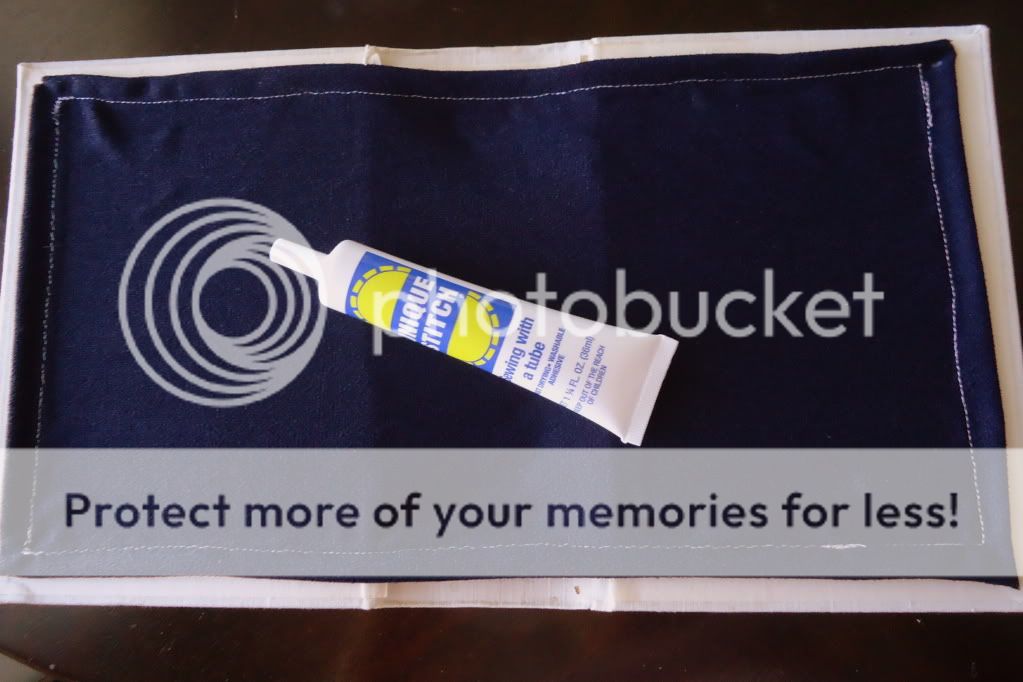
2. Create the liner for your book purse.
After removing all your pages, you will be left with a cover. I chose to glue fabric to the inside of the cover to make it a bit more sturdy and nicer looking. I just cut out a rectangle of fabric the same size as my cover, hemmed the edges, and glued it in.
And then I set to work on sewing a lining for the purse. To start, you need to mark the outline of the book cover onto your fabric. But, this will only account for the front and back of the liner--you still need sides. To create the sides, you need to set the book standing up and open it as far as you imagine the purse opening. Trace this shape coming off the center of the bottom edge of your outline.


Now, you will cut out the bottom half only.

You only want to cut out the bottom half, because the top half needs to look the same. So, fold the bottom up, and cut the same shape onto the top half.


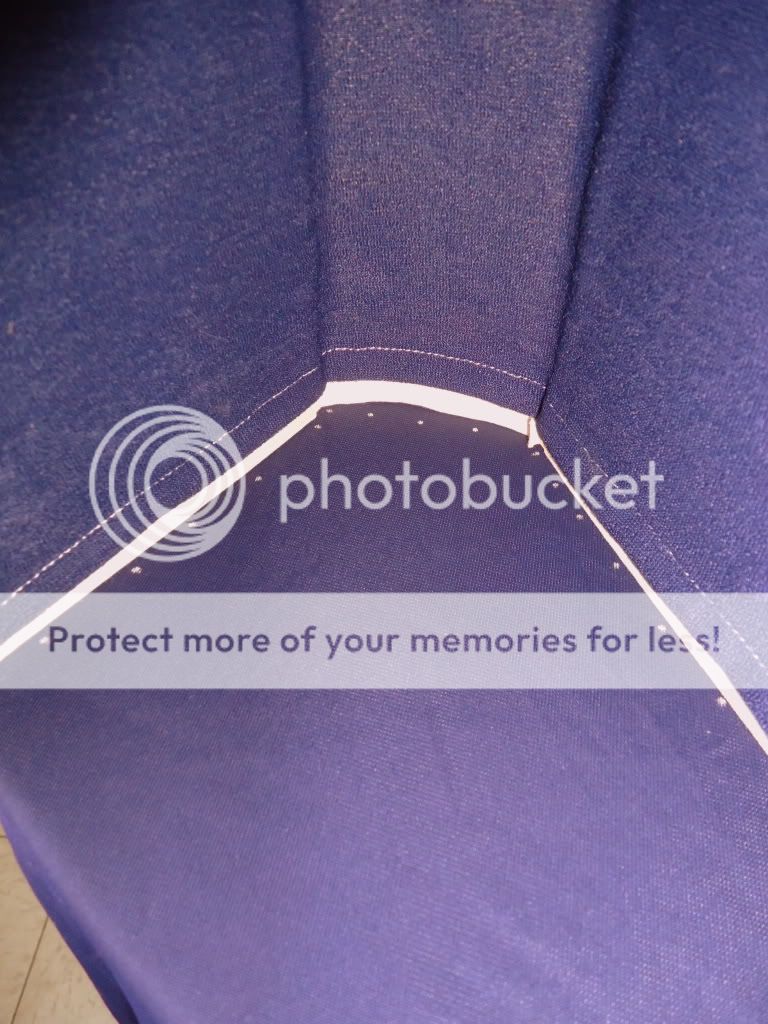
You should end up with a final shape like this:

You will need two of these cutouts! You can just trace the one you just made onto your fabric and cut out a second one.
Now comes the sewing part. You will need to sew the edges together, like so:

On each cut out, you will sew side 1 to side 1, side 2 to side 2, and so on.
On the first cutout, sew the sides together with the "good" front sides of the fabric facing each other.
On the second cutout, sew the sides together with the "bad" back sides of the fabric facing each other.
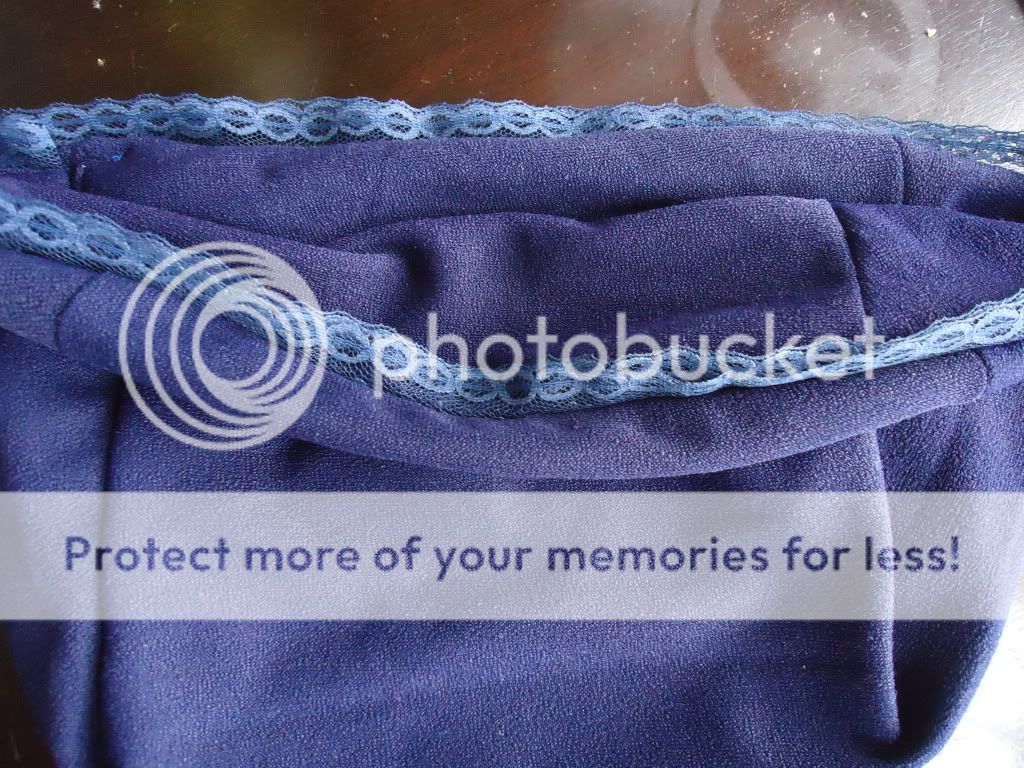
You want end up with two pouches, like so:

One pouch will have the good side of the fabric on the outside, the other will have the bad side out.
As you can see in my photo, I sewed a strip of lace across the top of both pouches. This is optional; I did it to make my finished liner a little frilly on the top.
Next, you will place one pouch inside the other. Place the pouch with the good side of the fabric showing inside the pouch with the bad side showing.


The pouches should be placed so the good sides are together.
With one pouch inside the other, you will sew the two pouches together across the top. Back stitch when you start and stop. Leave about 2 to 3 inches open. You will need this opening to turn the pouches inside out.
Once you have sewed the pouches together across the top, and turned them out through the opening you left, you should have something like this:
3. Glue the liner to the book cover.
Now that the liner is finished, it needs to be attached to the book cover. I chose to use fabric glue for this purpose. I glued the liner to the inside of the cover a section at a time, holding it in place with clips until it was dry.

4. Attach a handle to your purse.
You could attach your handle a couple different ways. Before you glue your liner in, you could sew the handle on to it, or you could glue the handle on using the fabric glue. I went the route that I thought seemed sturdiest, which was to actually pound holes into the book cover and string my handle through the holes.
Using a nail, I made a hole near each corner of the book cover.

I placed a piece of wood beneath the area I wanted my hole to be in, and pounded the nail into the book (through the liner as well) just until the nail came out the other side. I made four holes doing this, one in each corner, about an inch down and an inch inward.
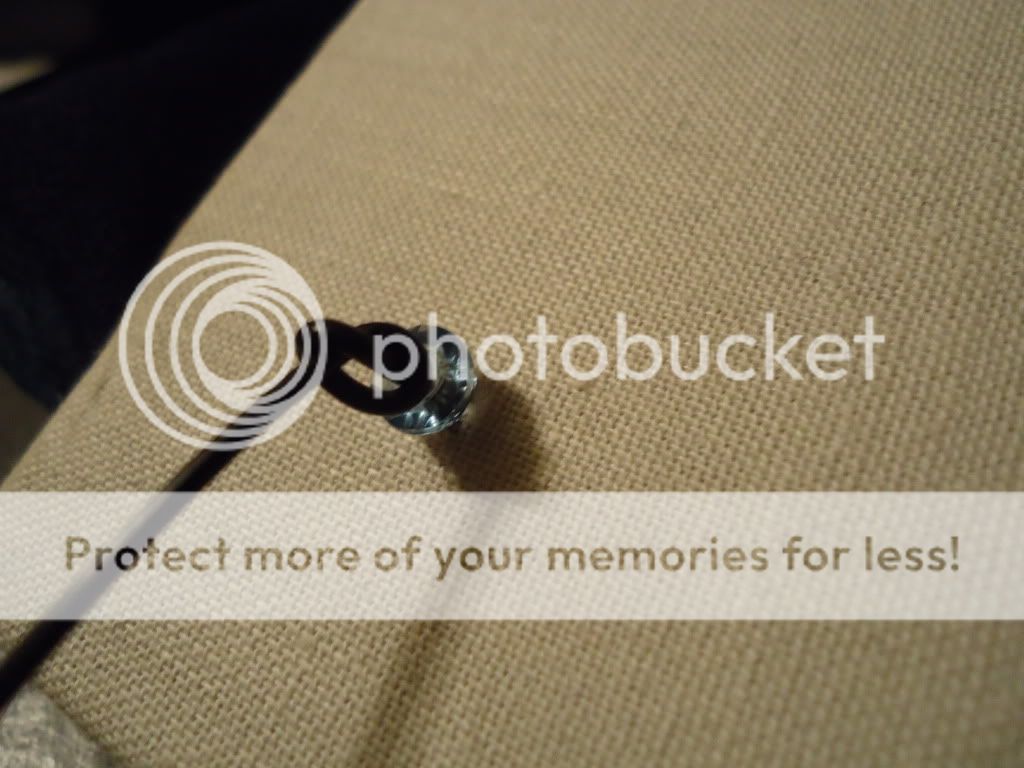
Through these holes, I strung some plastic cording.

To keep the cording in place, I knotted a bead near each hole.
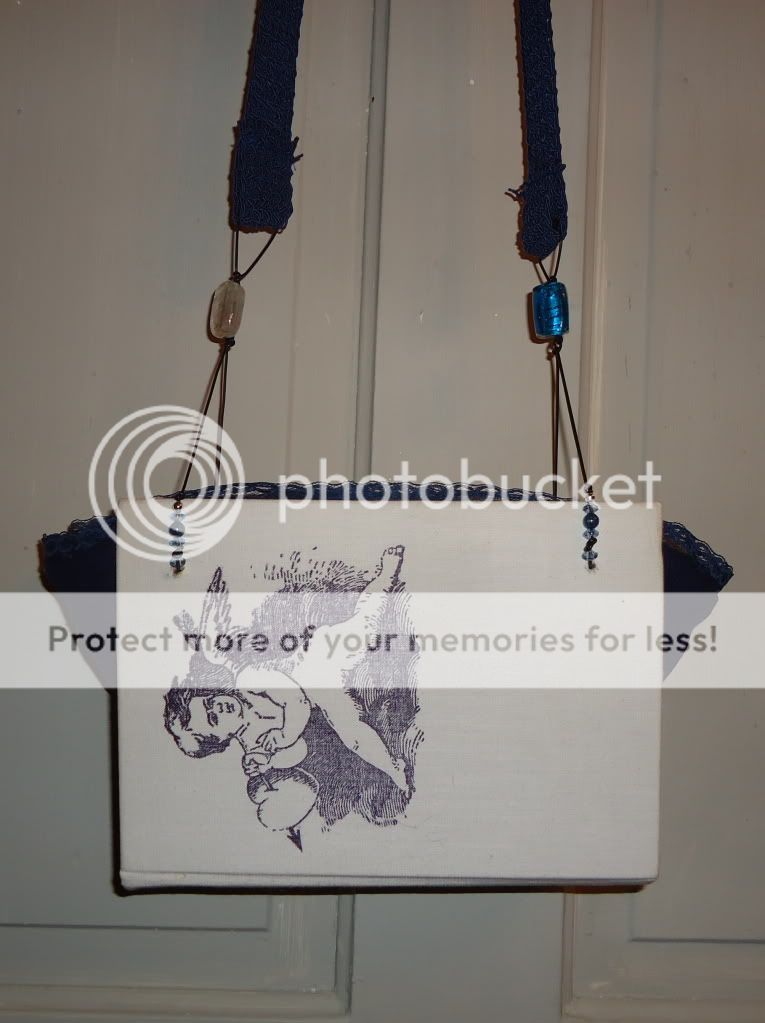
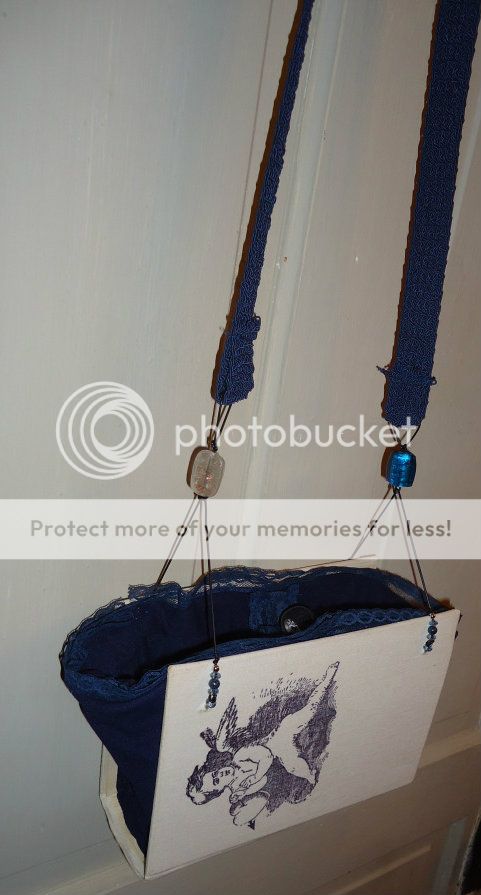
I knotted more beads into the cording, and then I attached a long strap I salvaged off an old purse to the cording.

To keep the purse held shut, I sewed a button onto a strip of lace, and attached this to the liner. In retrospect, I should have done this before I glued the liner into the book cover (duh). Since I added it after I had the liner glued in, I had to hand sew it on.

The black buttonhole strip was rescued off a pair of my son's worn out jeans. If you don't have a strip like this, you can cut slits in a strip of elastic, or find some elastic cording to make a loop for the button.
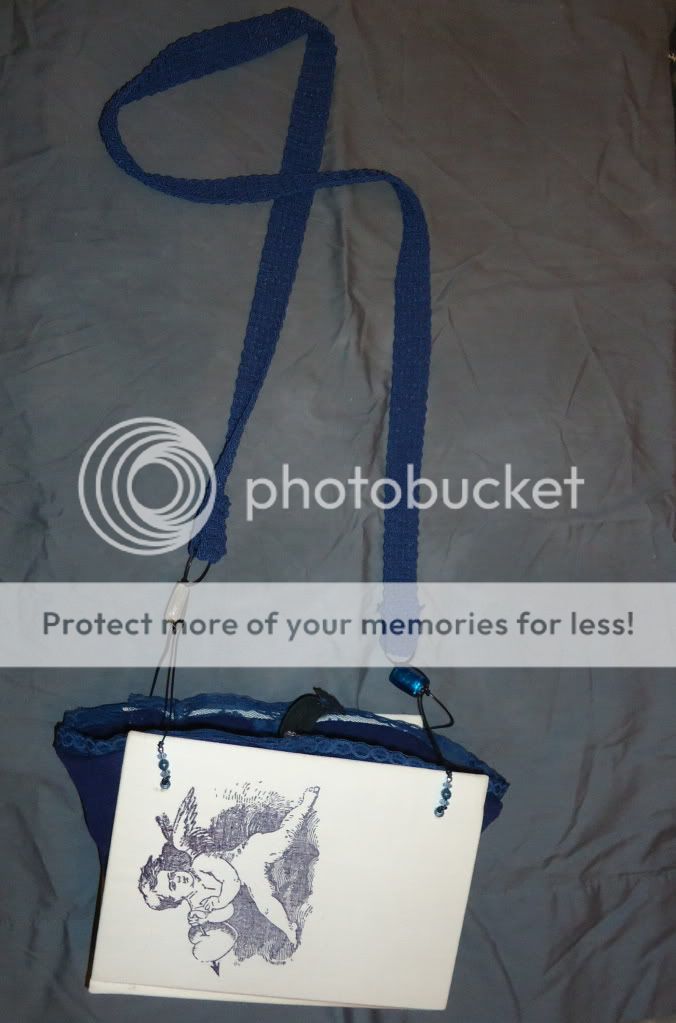
After adding the button closure, I called it finished!

Comments
Post a Comment
I will just take a quick peek at your comment before it posts to avoid getting bombarded by spam. Please don't take it personally, I'm sure you're a lovely person.