Skip the corn syrup and low-fat milk found in store bought fruit-on-the-bottom yogurts, and make your own homemade version. Making yogurt is actually quite simple--all you need is milk and a yogurt culture (either from a previous batch of yogurt or a purchased starter) and a little warmth.
You can buy yogurt from the grocery store and make a new batch from it. Then, just save a quarter cup from your new batch to make the next, and so on. After time, if the flavor starts to become a bit "off" tasting, you may have to start over with new yogurt (or a packaged culture) again. When you are choosing your yogurt, be sure it is a good, organic brand with nothing added: the ingredients should list just milk and cultures.
The fruit layer on the bottom is equally easy to make, only requiring berries and honey. And the granola, while optional, is a great compliment to homemade yogurt. If you do choose to make the granola, you will want to start it the day before you make the yogurt, since the granola needs to soak for 12 hours.
Fruit-on-the-Bottom Yogurt
Ingredients:
Granola:
1 cup rolled oats1 cup water
1 tablespoon apple cider vinegar
1 tablespoon honey (adjust to your taste)
Yogurt:
1quart milk (4 cups)1/4 cup plain yogurt with active cultures
1 teaspoon vanilla extract (optional)
honey to taste (optional)
Fruit-on-the-Bottom:
1 cup berries1 tablespoon honey
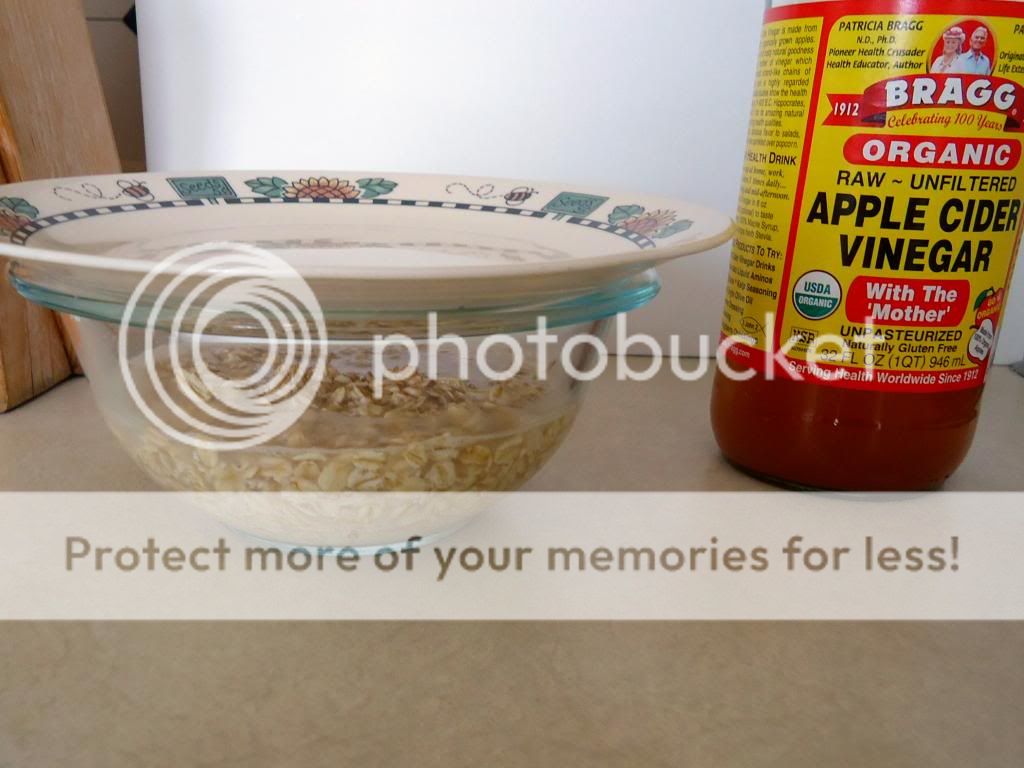
1. In a medium bowl, combine the granola ingredients (oats, water, vinegar, and honey). Cover and allow the oats to soak for 12 hours.
2. Dehydrate the oats. If you are using an electric dehydrator, spread the oats onto fruit leather trays and dehydrate at 145 degrees F until the granola crumbles apart (this can take from 4 to 8 hours).
If you are using an oven, spread the oats into a thin layer on a cookie sheet. Bake at your oven's lowest temperature until granola crumbles apart (4 to 8 hours). Store granola in an airtight container.
3. Prepare the yogurt: In a pot, heat the milk to 180 degrees F over medium-low heat to prevent scorching.
4. Remove the milk from heat and allow to cool to 110 degrees F.
5. Meanwhile, bring a tea kettle of water to a boil. Once it is boiling, pour the water into a small cooler; close the cooler and cover it with a blanket to keep it warm.
6. Once the milk has reached 110 degrees F, take a ladle full of it out and pour it into a small bowl with the 1/4 cup yogurt. Whisk the milk and yogurt together until smooth. Pour the milk/yogurt mixture back into the pot of milk and stir well to thoroughly combine.
7. Pour the milk/yogurt mixture into a clean quart-sized glass jar and screw on the lid. Place the jar into the warmed cooler, close, and recover with the blanket. The idea is to keep the jars warm, at around 110 degrees F, to let the cultures to do their thing. Allow the jar to sit for 4 to 8 hours, or until the mixture has thickened. If you would like vanilla flavored yogurt, stir in vanilla extract and honey to taste. Then, refrigerate the yogurt until you are ready to assemble the fruit-on-the-bottom yogurt cups.
8. Somewhere along the line, prepare your fruit-on-the-bottom mix. Simply place 1 cup of your favorite berries into a small bowl and drizzle the 1 tablespoon of honey on top. Mix and allow the mixture to sit for at least one hour.
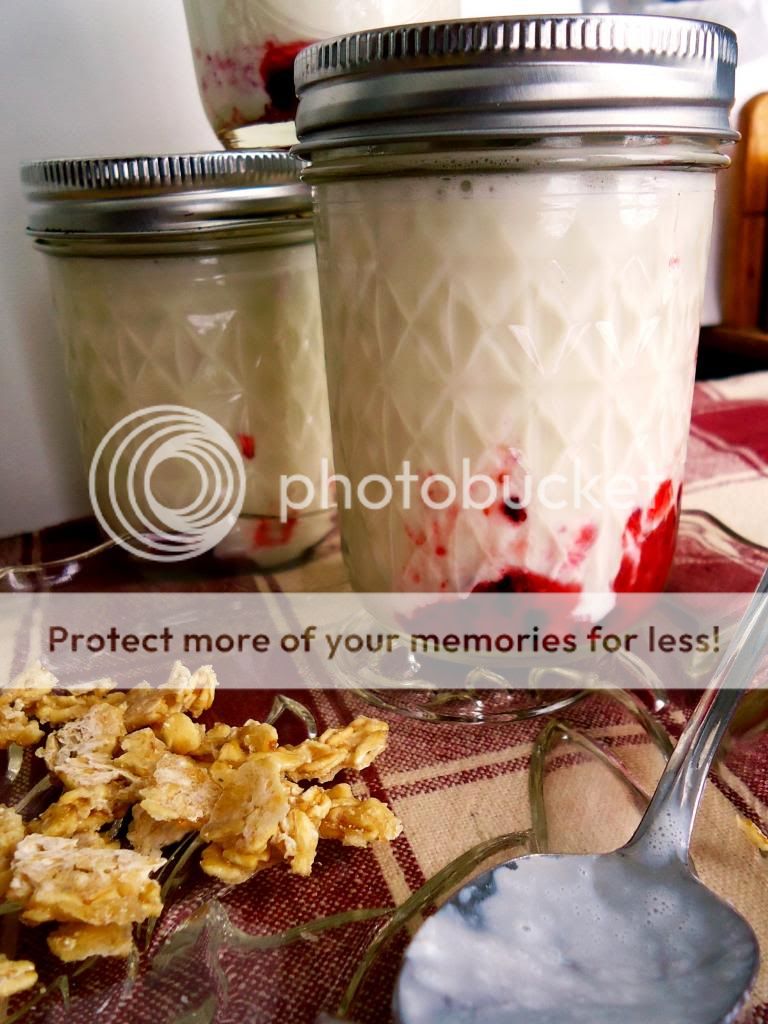
9. Assemble the yogurt cups: Divide the fruit mix evenly among four half-pint jars. Fill the jars the rest of the way with the yogurt; cap, and refrigerate.
10. To serve, simply open a jar and top with granola.


the tightwad gazette has a very good article on making homemade yogurt also.
ReplyDeleteNice to meet you admin, love your yogurt recipe and whole article.
ReplyDeletemy website about yogurt here the new article
greek yogurt and diabetics thanks